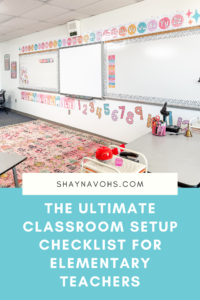
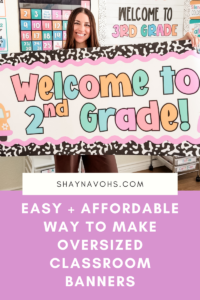
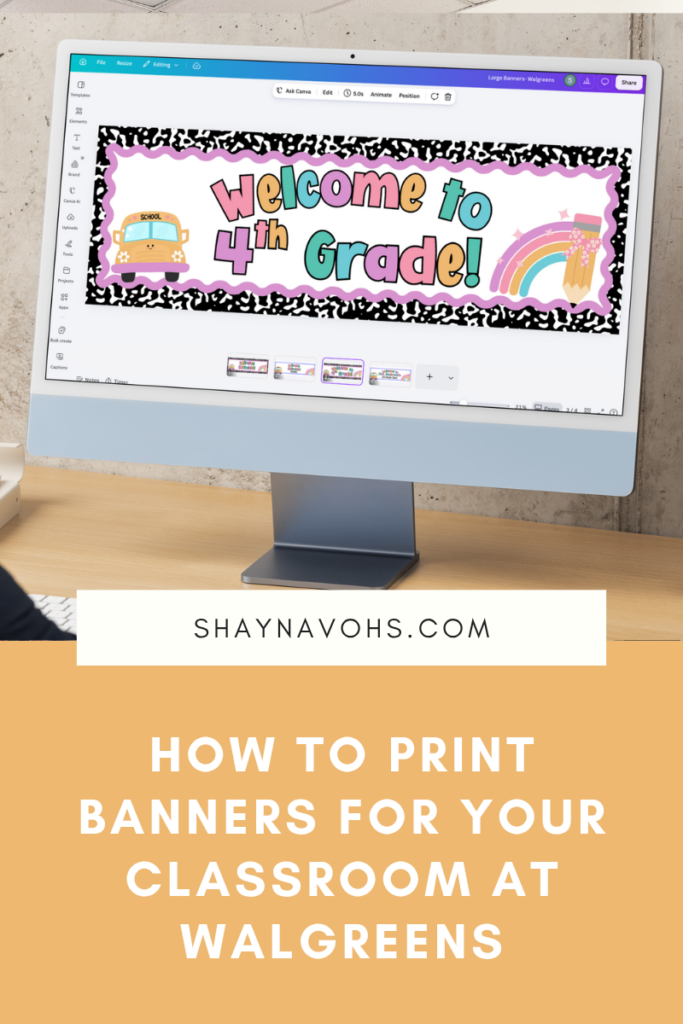
Creating banners for your classroom is as simple as clicking around on Canva. But how do you print banners without spending your entire salary??
I’ve found that Walgreens will run deals from time to time to make printing banners CHEAP.
(Like…I printed some classroom banners for $10 at the beginning of August in 2026 🤯.)
SO, when you find a smoking-hot deal at Walgreens that lets you print a banner for your classroom for what feels like pennies, follow these steps to EASILY get those banners printed!
Step 1: Export the Banner
If you’re like me, you’re using Canva to create these banners.
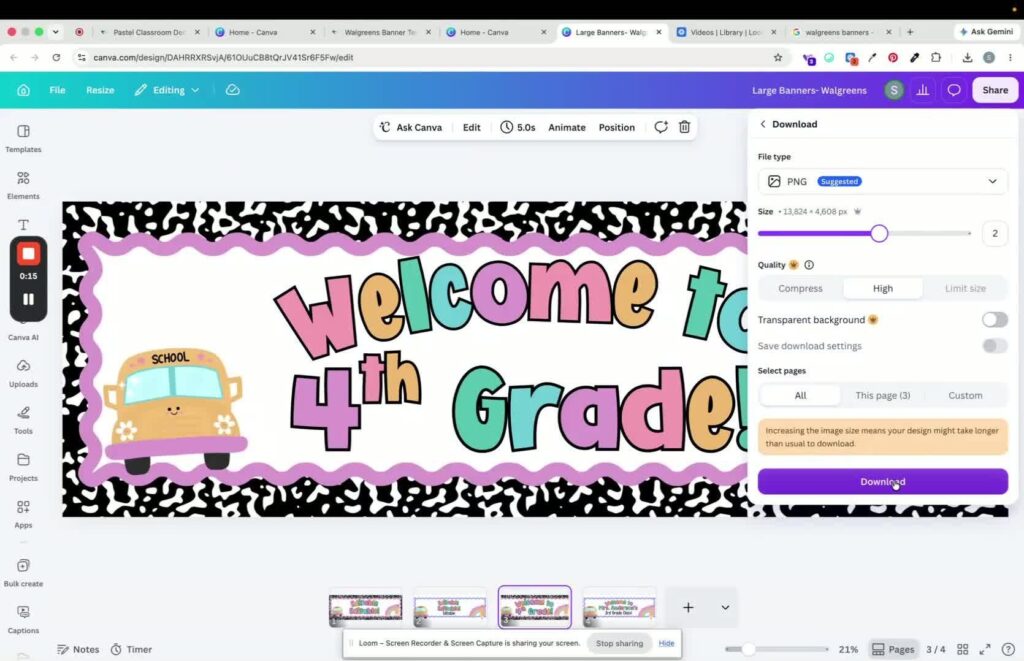
Make sure you export your banner for your classroom as a high-quality PNG file.
To do this, follow these steps:
First, click Share in the top-right corner once you are done editing your banner.
Next, choose Download as PNG.
Then, change the size to 2x to improve print quality.
Next, select the current page if your design template is more than one page.
Finally, click Download and save the file to your computer.
This will give you a high-quality PNG file to be able to upload to Walgreens’ website!
Step 2: Save Your Banner in a Good Spot
If your downloads folder is anything like mine, it’s filled with a bajillion random files that make it VERY hard to find anything I’ve recently downloaded.
So, save yourself the headache of rummaging through that folder again and again by saving the PNG to a known location.
Maybe it’s just your desktop, or a dedicated project or school folder.
This also means it’s helpful to know what you named the file in the first place!
Make sure that the file is there and accessible BEFORE moving on to the printing step.
Step 3: Open Walgreens Banner Printing Page
Now we are getting to the fun part!!!
Open up Google and search for Walgreens Banner.
Click on the link that comes up and select the Custom Banners option. That will allow you to upload your own banner file.
Then, choose Banner Paper and the 2 x 6 size.
Finally, click Create Now to begin your order!!
Step 4: Upload the Banner for Your Classroom
Now we get to tell the computer WHAT banner (or banners) you want to print off for your classroom.
If you don’t already see your banner design in your Walgreens photos, click Upload Photos in the top-right corner.
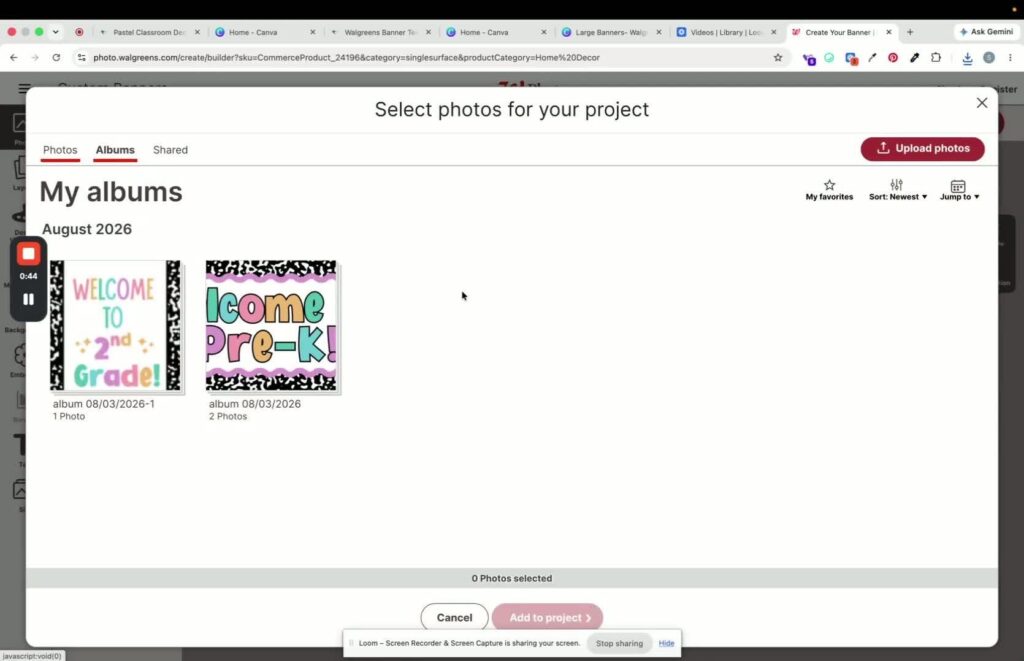
Then, select My Computer.
Next, click Select Photos and find your saved banner PNG file. (This is a great time to make sure it’s a PNG file and not something else by accident!)
Finally, choose the file, then click Done and Upload.
Your customized classroom banner is now being loaded into Walgreens’ system!
Step 5: Make Sure Your Banner is Right-Side Up
The absolute worst thing would be to print your horizontal banner vertically (or vice versa).
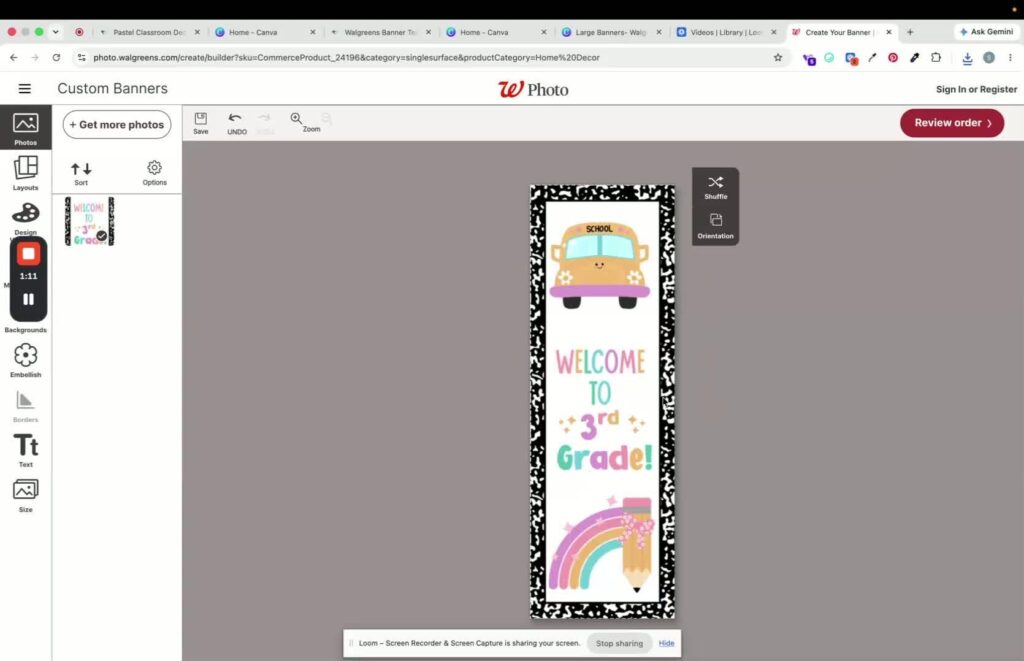
Now is the time to make sure that your banner is oriented the right way.
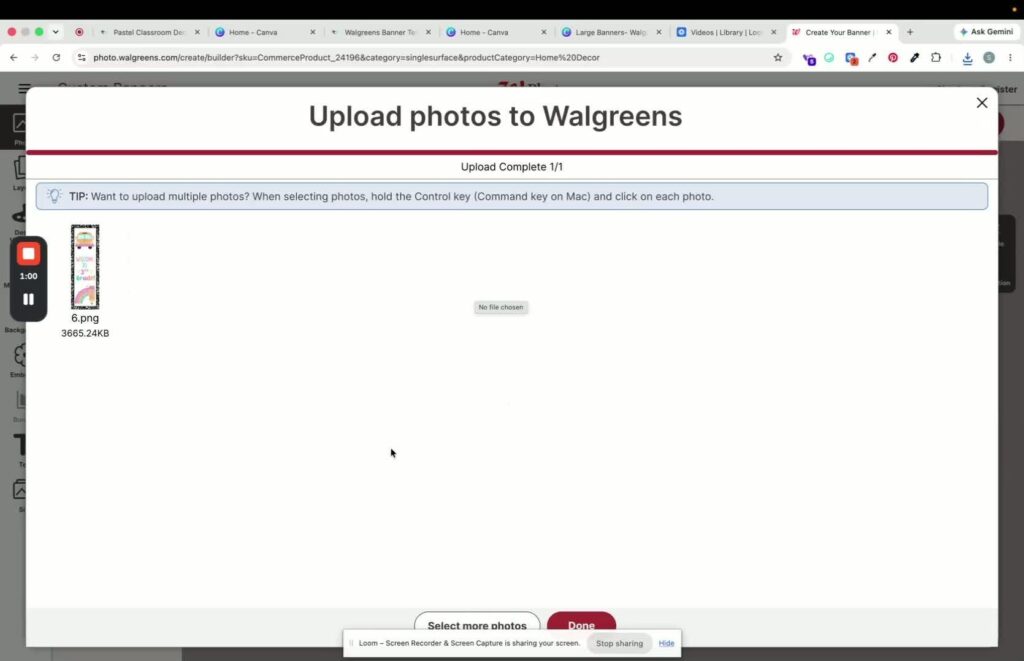
If the orientation is incorrect (it is loading it as a horizontal instead of a vertical banner), click the Orientation button to rotate or swap the layout.
Finally, confirm the banner displays properly before continuing.
You’re seconds away from submitting your banner for printing!!
Step 6: Confirm Your Banner Size
Before you hit that final checkout button, take an extra two seconds to make sure the size is correct.
Otherwise, your banner might come out wonky or get chopped and not show the whole design.
To do this, click Review Order.
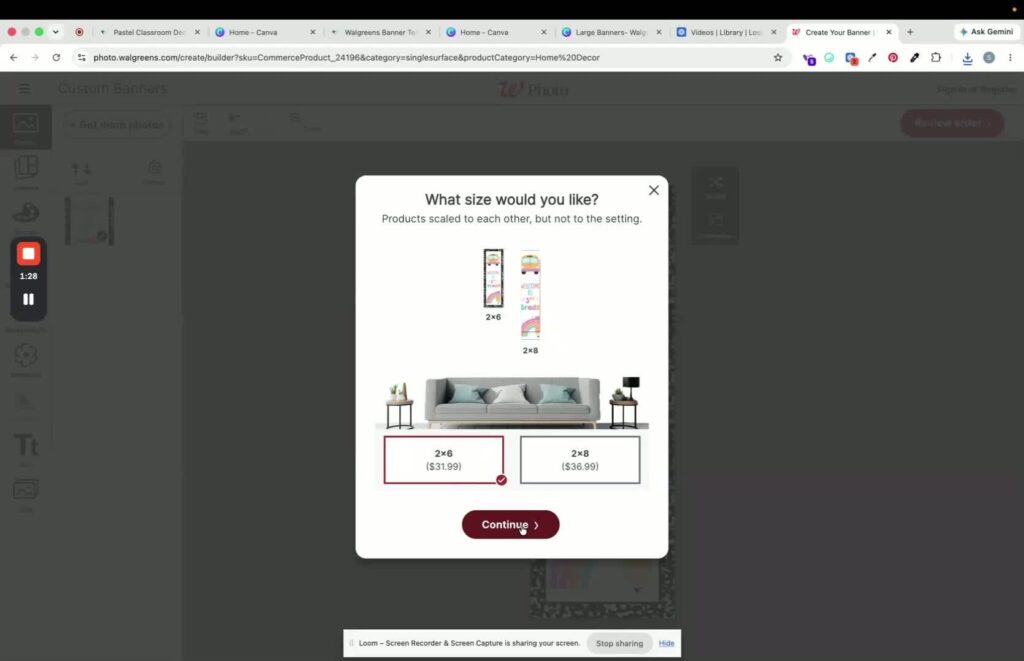
Then, make sure the size is set to 2 x 6.
Do NOT select 2 x 8 as your banner design might get cut off.
Finally, verify that the preview matches what you want your banner to look like AND the intended dimensions.
Step 7: Head to Checkout!
Before heading over to the checkout, spend a few minutes googling to see if there are any coupon codes live that will give you a discount.
You can even check this website to see from Walgreens itself!
Then, click Continue (you should see the 2 x 6 size pulled up).
Select Proceed to Cart.
Now is the chance to put in that coupon code you found that will help lower the cost of the banner for your classroom!
Be Careful!!
Here are some quick notes on things to make sure you avoid during this printing process:
- Confirm the correct page is selected if the design contains multiple pages.
- Make sure the downloaded file is a PNG and saved correctly before uploading.
- Double-check the orientation after upload to avoid printing the banner sideways or upside down.
- Do not choose 2 x 8 unless your design was specifically created for that size. Otherwise, choosing this with a 2 x 6 banner might end up cropping your banner.
- Always review the final order preview before checkout to catch sizing or layout issues.
Tips to Save You Time:
Here are a few tips to save yourself time (and potentially money!)
- Save the banner file in a dedicated project folder so you can EASILY find it when you’re ready to upload a file.
- Use the 2x download size to help maintain print quality.
- Keep a list of commonly used Walgreens coupon codes to speed up your checkout process.
- Verify the banner dimensions and orientation immediately after upload to avoid having to reprint a banner.
- If you’re looking to print many banners for your classroom this year, create all of your templates and wait for a great sale to print ALL of them at a good deal!
Now you are ready to print banners for your classroom to your heart’s content!!
Enjoy creating them for class events, encouragement during testing, or just to add a bit of something new throughout the school year!
If you want to hop on the classroom banner train but don’t feel great about creating your own, check out this blog post!
I walk you through how to create your own banners in Canva as well as highlight the banner templates I have on my TPT store.