
Ever spent hours editing, printing, cutting, and prepping small decor pieces… only to watch them pile on top of each other in the laminator like a tiny traffic jam? 🫠
This quick, 2-minute laminating how to tip will save you hours of mistakes 🙌
And the best part? The secret supply you need is already inside your classroom. 😉
🧩 Step 1: Arrange Pieces
Before we get TOO excited, you need to know exactly where each item is going to go on your laminating sheet.
Solve the puzzle of arranging everything just right so you can laminate the most items in the least amount of time.
🪄 Step 2: Grab a Glue Stick
🤨 Yup, you heard me correctly.
Those purple, Elmer’s glue sticks that you have sitting around in your classroom?
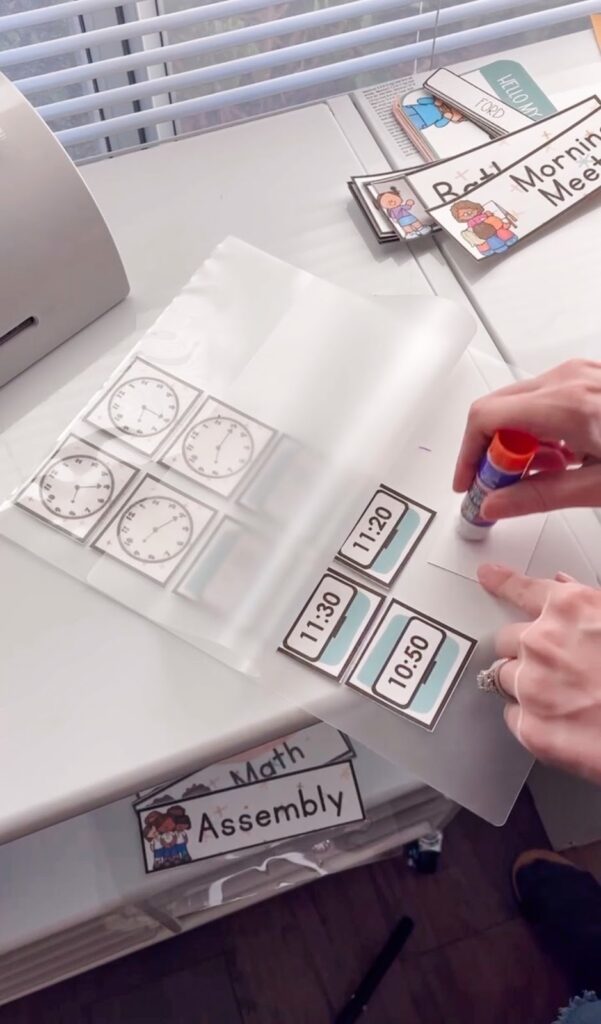

Grab one and add a bit of glue to either the back of the items you’re going to laminate or the laminating page itself.
Note: I have not tried this with liquid glue before; I’ve only used the glue stick…and it works so well, I haven’t bothered trying anything else!
🤩 Step 3: Laminate
Now it’s time to send your carefully crafted lamination sheet through the laminator.


But this time, you won’t have to worry about accidentally bumping it or breathing the wrong way as you send it through. 🙌
👏 Step 4: Be Amazed
That’s it! Now you’re ready to cut your laminated items up and actually use them. 🎉

WITHOUT the hassle of reprinting the page, cutting apart overlapping pieces, and starting the entire process over again.
Trust me, once you start using this lamination hack, you’ll never go back. 🤩


😍 Loving these schedule cards? Grab your own set of Retro Rodeo Schedule cards for your classroom. With this tip, they really could be up in your classroom tomorrow!
If you’re hunting for more printing classroom decor tips and tricks, I’ve got a couple for you!
Here are my favorite tips for printing classroom decor bundles on a budget.
This is my ultimate guide to printing out classroom calendars, because they can feel like a giant task.