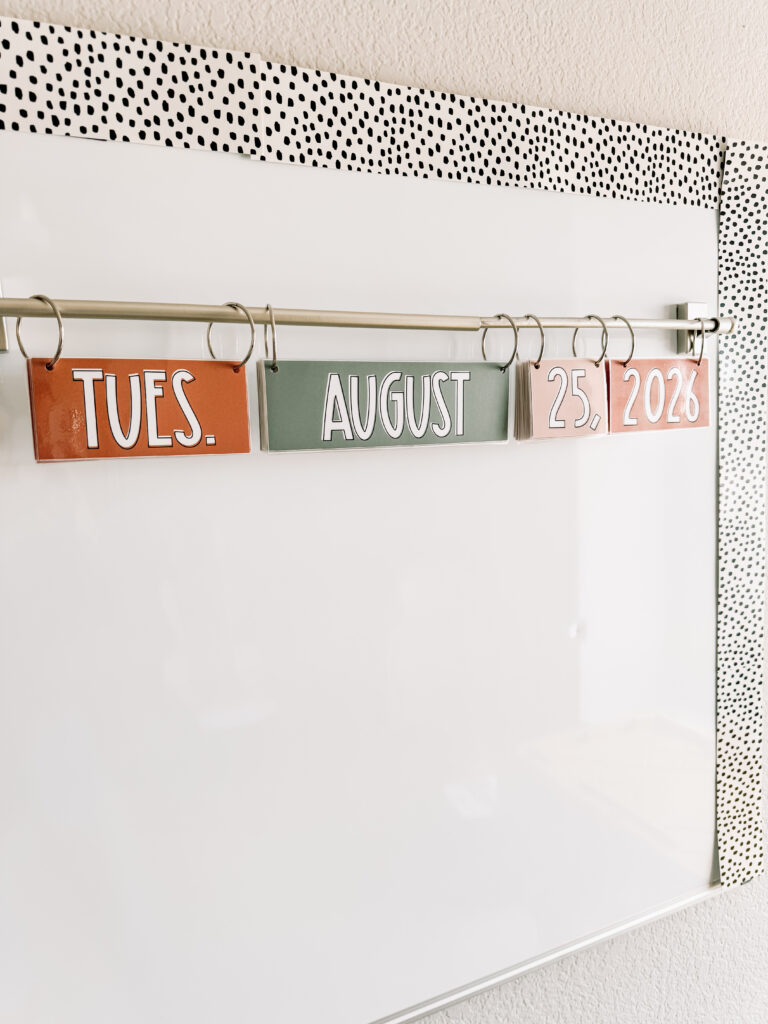
I love using a classroom flip calendar because it clearly displays the date without needing to write it on the board each day 🙌
If you have ever been interested in using one but aren’t sure what’s needed, I’ll walk you through the materials I used in these 4 easy steps to setting up a flip calendar in your classroom next year!

(This post contains affiliate links for Amazon. This means that Amazon sends me a small commission, at no cost to you, if you purchase through one of these links.)
Step #1: Choose & Print the Cards
There are many flip calendars to choose from on TPT. Simply use the search bar to find one that matches your style.
Here are a few flip calendar options in my TPT shop!

Note: Each of the year cards in these flip calendars has been updated to 2026 and beyond. 🙂
Here is a link to check out the flip calendar themes in my TPT shop if you are interested in any of these styles.
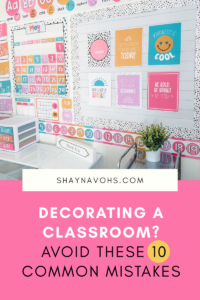
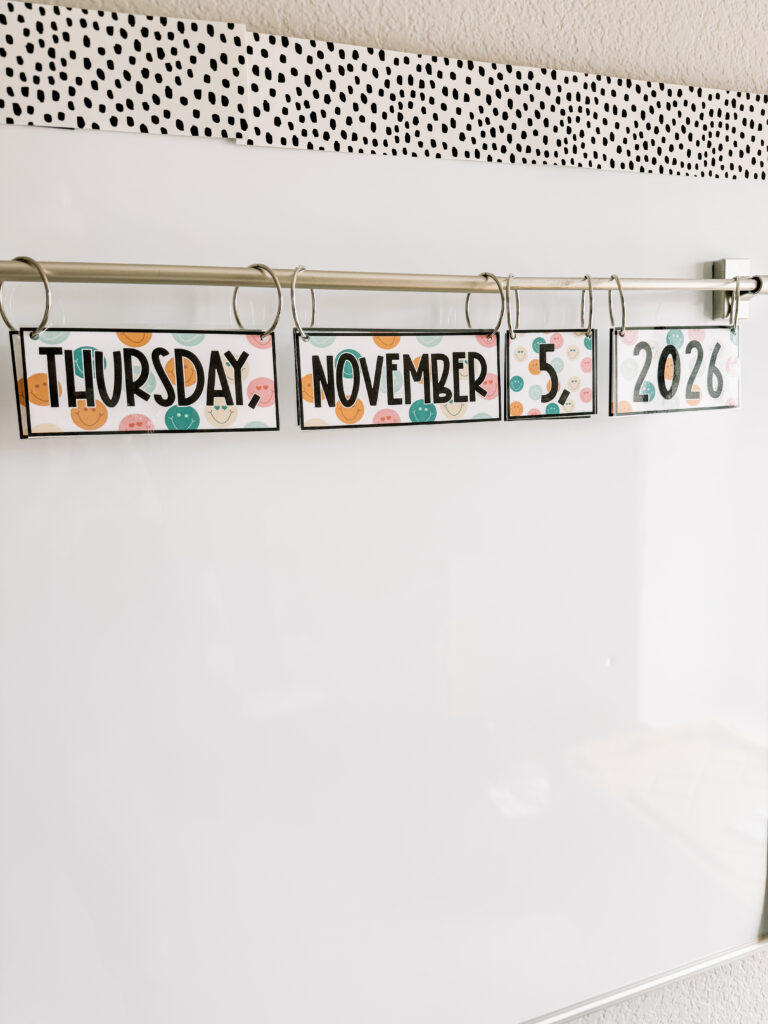
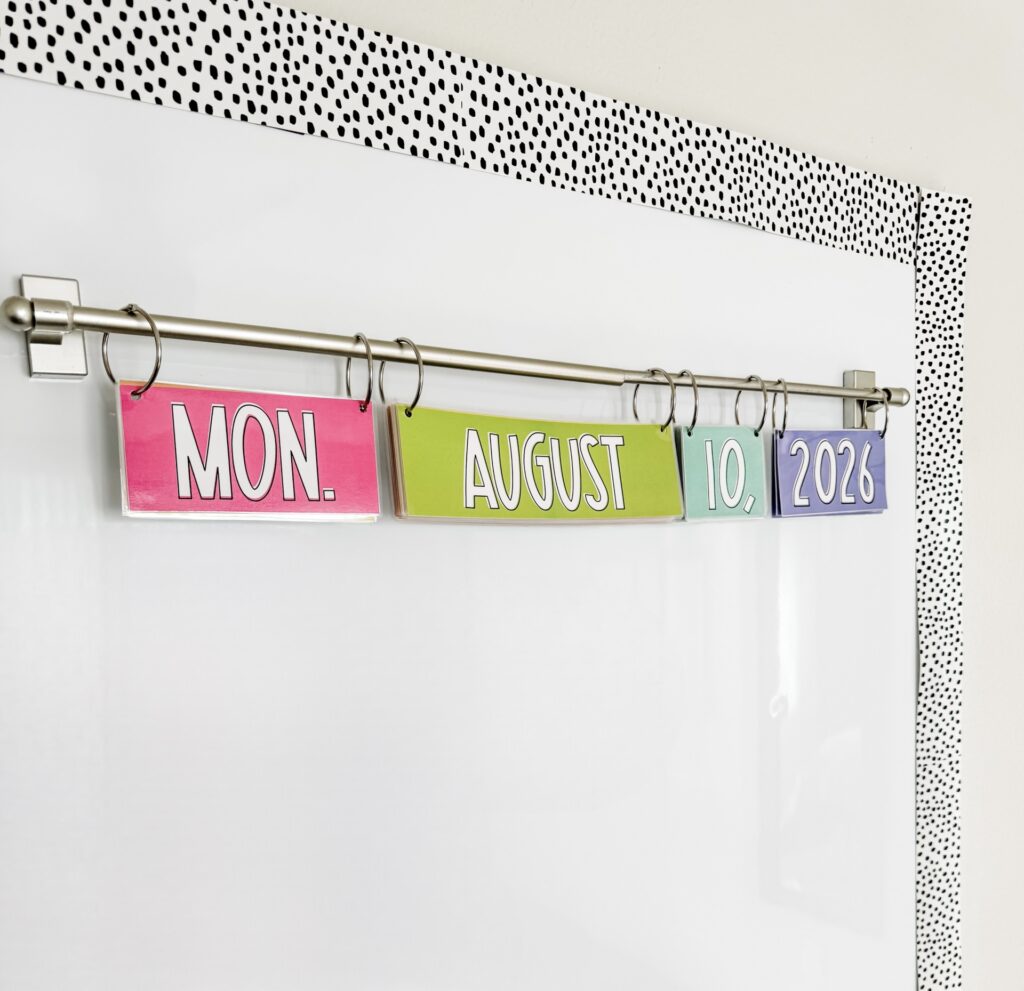
You can find the bright colored flip calendar cards (pictured below) HERE.
The flip calendar shown above includes a text-editable option so you are able to change the font, translate the calendar to another language, or make any other adjustments to fit your classroom!
Once you have figured out the cards you want to use for your flip calendar, print on a colored printer. I simply used my HP printer at home to print these cards on cardstock paper.
Cardstock paper is not required, however, it makes the cards more durable and really brings out the colors!
Here is a blog post filled with specific tips on how to print resources on a budget!
Step #2: Laminate & Cut the Cards
Laminating the cards makes them more durable and keeps them from wrinkling since they will be flipped every day.
I recommend using a paper cutter to make sure your edges are straight and consistent. This makes your calendar look neat and clean. 🙂

Step #3: Hole Punch the Cards
Alright, here is where it can start to get tricky. Punch two holes (one on each end) into each flip calendar card so that the cards can hang from binder rings and then be attached to the rod.
For your calendar to look neat, put together, I recommend trying to punch the holes in the same spot on each card.
This makes sure that your cards line up and look more organized once assembled.

Here are some tips for punching holes in a consistent spot on each card:
💫 Hold several cards together with a binder clip and punch them at the same time
💫 Measure a spot a certain distance from the top for each card
💫 Identify a feature of the cards and eyeball it!
Step #4: Assemble Your Classroom Flip Calendar Cards
The hard work is done and now you are ready to get your flip calendar up and running! 🎉
To set up my flip calendar, I use
✅ 2 inch binder rings (I used 8 total)
✅ a magnetic curtain rod (16-28 in. size)
First, separate your cards into four different stacks: Day of the week cards, months of the year cards, date cards (numbers), and year card (or cards if you printed multiple).
Second, grab the 2 inch binder rings. Then, grab your days of the week card stack. Make sure they are in order! Next, place one binder ring on each end and close the rings so that it holds all of the cards together.
From there, do the same thing for the month cards, year cards, etc until they each have 2 sets of binder rings.

Finally,
➡️ Slip the binder rings with cards onto the curtain rod.
➡️ Place your curtain rod on your magnetic whiteboard
☀️ Sit back and enjoy your mornings!
Tip: To keep the curtain rod from sliding around when changing the date, I recommend adding a command strip to each end of the curtain rod to keep it in place. 🙂

Ready to get your flip calendar set up in your classroom? Grab my Happy Hues Flip Calendar from TpT here!
Extra Tips
I want to leave you with a few additional tips I have discovered about flip calendars!
👍 Play with the size option of your magnetic curtain rod. If you are using the unabbreviated version of the days of the week, you will probably need to extend the curtain rod to its longest option! With any cards you choose, I recommend the 16-28 in. size to ensure it will all fit.
👍 I’ve found that 2-inch binder rings work best to allow enough space for you to flip the cards once the calendar is assembled. When I tried 1-inch binder rings, they did not flip very well.
I LOVE the bright colors included in this flip calendar. They really pop off the page and create a fun, enthusiastic space. Explore more resources created in the Happy Hues theme in this blog post.