Since I have spent many hours creating and setting up bulletin boards, I wanted to share my top five hacks for setting up your classroom bulletin board 🙂

Bulletin Board Hack #1: Start with Washi Tape
Sometimes it can be hard to get a good feel for what your bulletin board will look like and how much space it needs until it is up.
But who has the time to staple a bulletin board display twice?
✨The BIGGEST tip I have for you is to use washi tape to hang up your “first draft” of your display. ✨

This allows you to put everything on the bulletin board, see what it looks like, and make small adjustments WITHOUT having to pull out a single staple!
Once you have each piece in the perfect spot, staple everything.
After everything is stapled, slowly peel off the washi tape, and voila! You have a beautiful bulletin board display for the classroom.
I suggest washi tape over any other type of tape because I think it does the best at holding papers up effectively while not pulling any ink off when you peel off the tape.
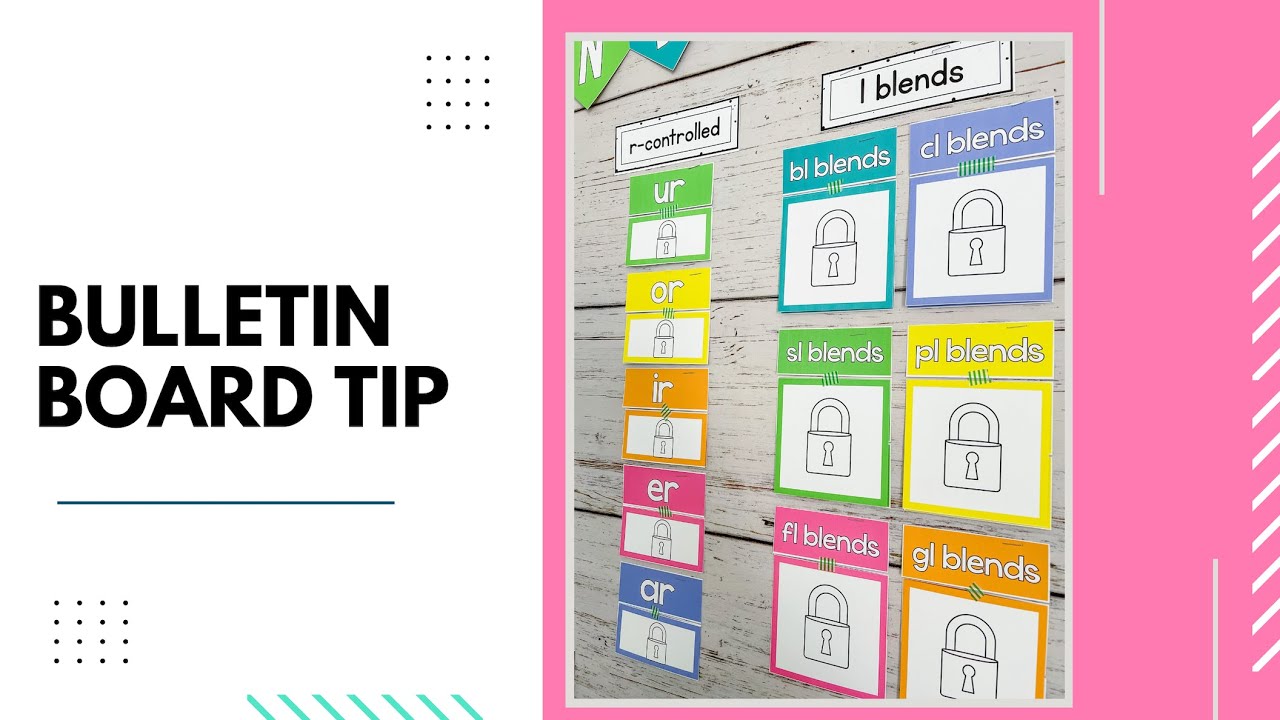
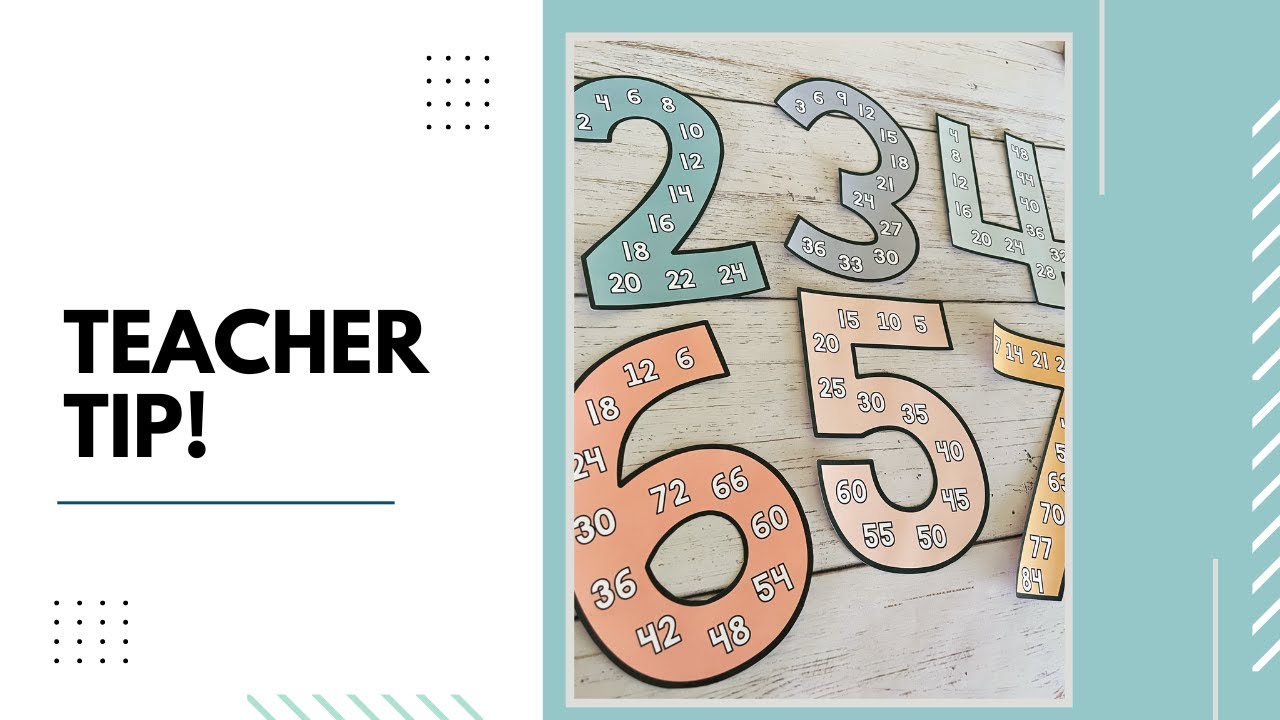
Bulletin Board Hack #2: Cutting out the Center
As you prepare your bulletin board display for your classroom, cutting out the inner parts of letters can take a long time.
Here is an amazing tip I learned on how to easily cut out a circle WITHOUT having to fold or wrinkle anything.
All it takes is three easy steps:
1️⃣ Poke a thumb tack into the middle of the circle you want to cut out.
2️⃣ Gently tug the thumb tack to make the hole larger.
3️⃣ Use scissors to carefully cut to the edge of the circle and cut all the way around.
✨This method keeps your papers wrinkle-free!
More of a visual learner? Check out this video walking you through the three steps!
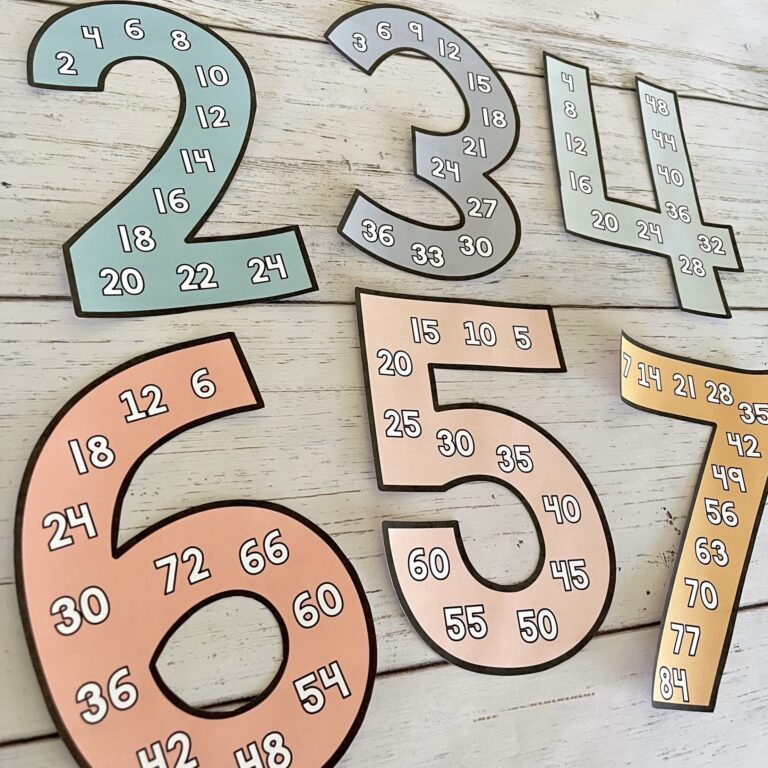
Bulletin Board Hack #3: Print on Cardstock
My next tip is to use cardstock paper when printing your bulletin board display!
Printing on cardstock is key for a couple of reasons:
➡️ Cardstock keeps your papers from wrinkling under the weight of all the ink
➡️ It allows you to skip the step of laminating for items that are hung on the wall and won’t be touched (alphabet, number line, birthday display, etc)
➡️ Cardstock allows your display to last longer
When you go to print out your bulletin board display, take some cardstock with you to the printer! I always keep my HP printer settings set to “thick paper” and can print using cardstock with no problem. 😊
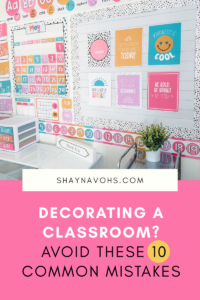
Starting your bulletin board process with this tip will help you create displays that will last longer and add that pop of color to your classroom!

Wanting some direction on what type of cardstock paper to use? Find my Amazon favorite cardstock from this post.
Bulletin Board Hack #4: Use Sharpies to Hide Staples
Have you ever looked at a bulletin board display only to have your eye drawn to the shiny metal staples against darker colors?
I have a tip to help keep the eyes drawn to the display itself instead of the staples!
When you staple over a black or really dark-colored piece of paper or section of ink, use a Sharpie to color the staple.
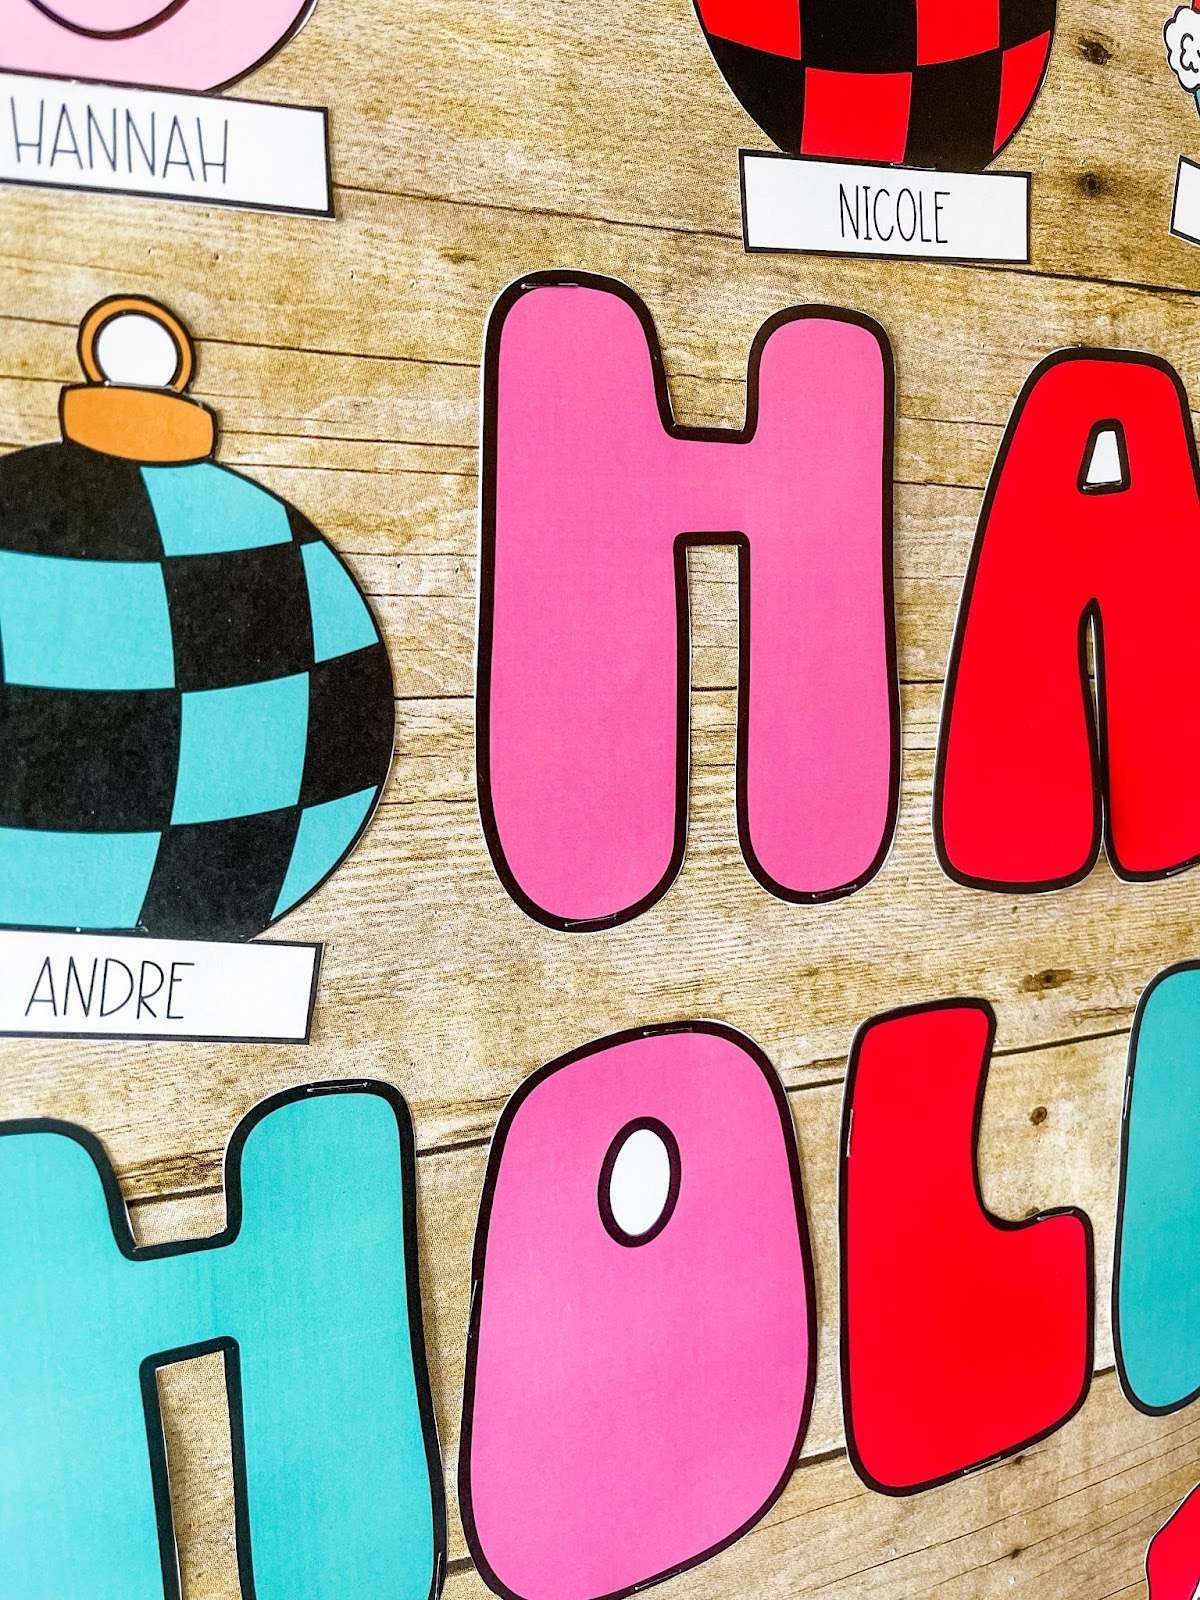
This dulls the shine of the staple and helps it blend in with its surroundings!
Who knew?! 🤷♀️
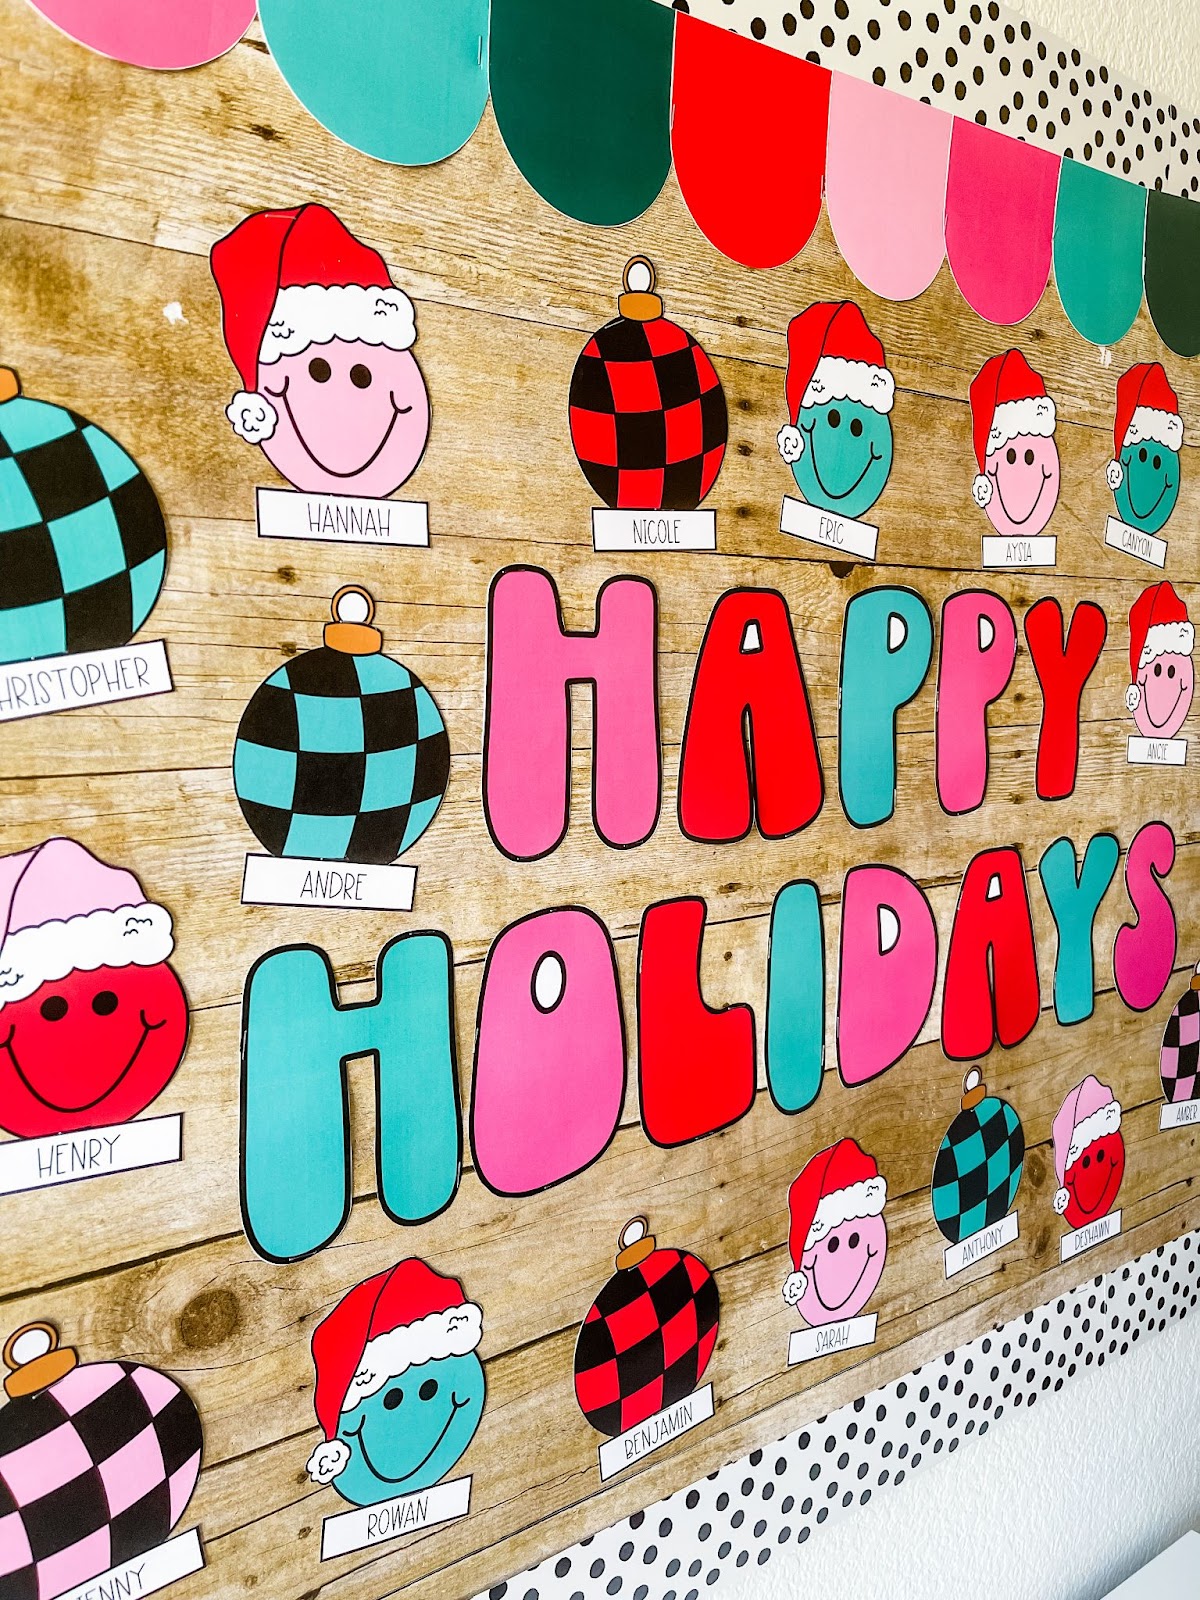
Interested in this retro holiday bulletin board? Grab this bulletin board display on TpT here!
Rather purchase this on Etsy? Check out my holiday bulletin board listing here.
Bulletin Board Hack #5: Store in a Plastic Bag and Label to Re-use Year after Year
Once you are ready to change out your bulletin board, simply pull out the staples and grab plastic bags to store the pieces in.
Then, I would suggest labeling the plastic bags so you know exactly which bulletin board display is in each bag.
Future you will thank you. 😉
About to print out a classroom decor bundle? Check out my printing tips in this blog post!