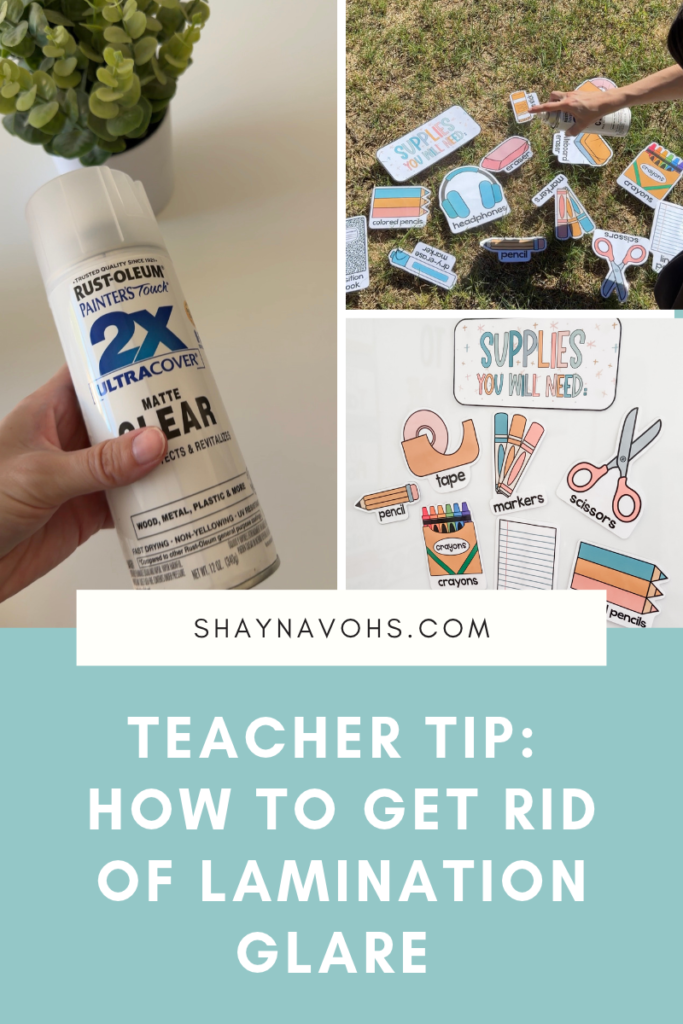
The best way to help classroom decor last all year is to laminate it.
But have you ever hung up a laminated poster, only to step back & see a huge glare?
The glare is crazy and makes it so hard to read & see! 🫠
Believe it or not (I was crazy skeptical about this hack before trying it myself), there is a SIMPLE teaching hack that will help you get rid of lamination glare once and for all! 👏
Follow these four simple steps to create laminated displays WITHOUT the glare!
Step One: Grab the Anti-Glare Lamination Spray
I saw this all over Instagram and finally decided to try it! The hack is to use this Rust-Oleum Matte Clear spray. 🙌
I found my can on Amazon (check out #21 on this blog post for the link to this!).
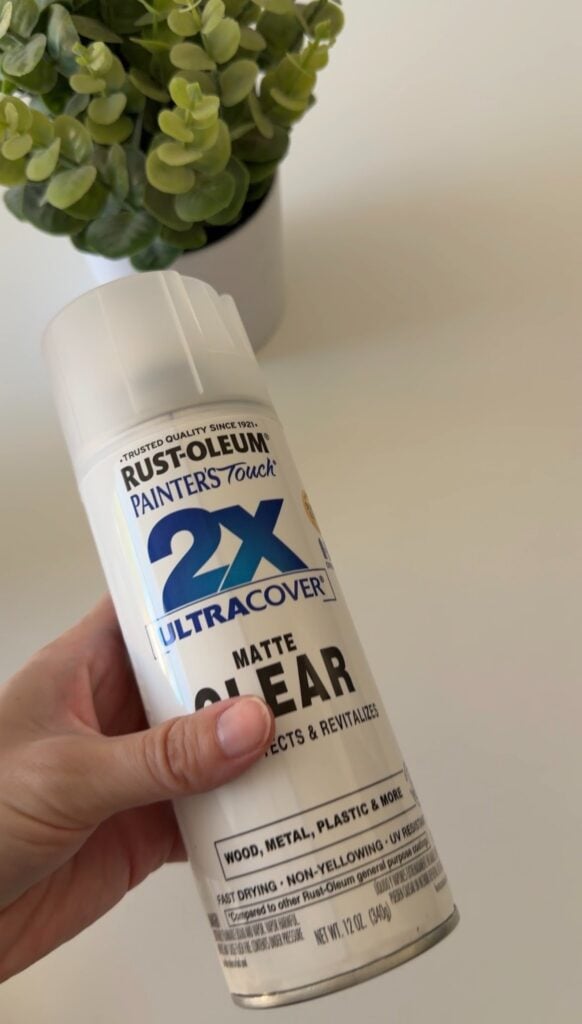
This is what the lamination glare spray can I snagged looks like!
I haven’t fully tested this yet, but I think one can will get you a LONG way. I used about ¼ of this can for spraying the product below with a double-coat, which is fantastic!
Step 2: Spread Out Your Decor
After you have printed, laminated, and cut out your decor items, it’s time to take them outside!
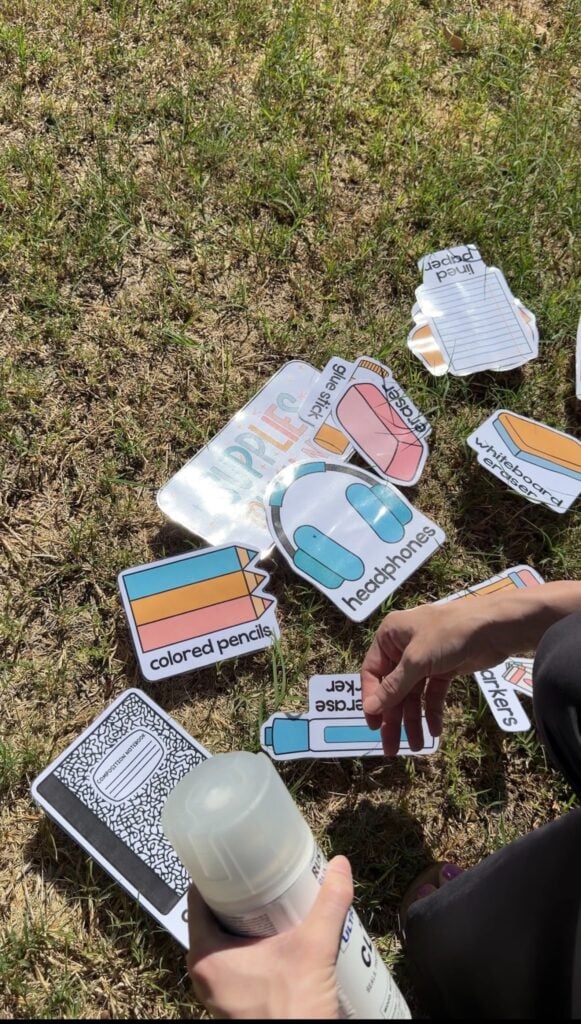
After laminating and cutting out the pieces for the Supplies You Need display, I spread them out in the grass so I could spray them easily.
And do you see the crazy glare on that “Supplies You Need” heading?? You can barely read it!
Step 3: Spray Your Decor Pieces (Twice)
Once your decor items (or posters) are spread out, it’s time to spray them down!
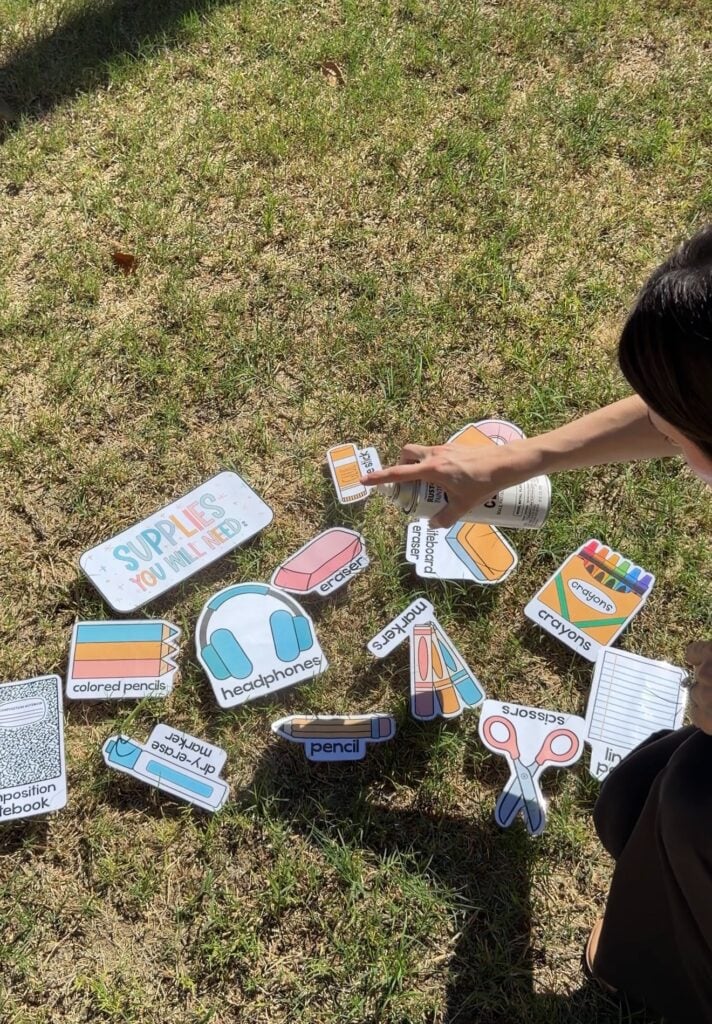
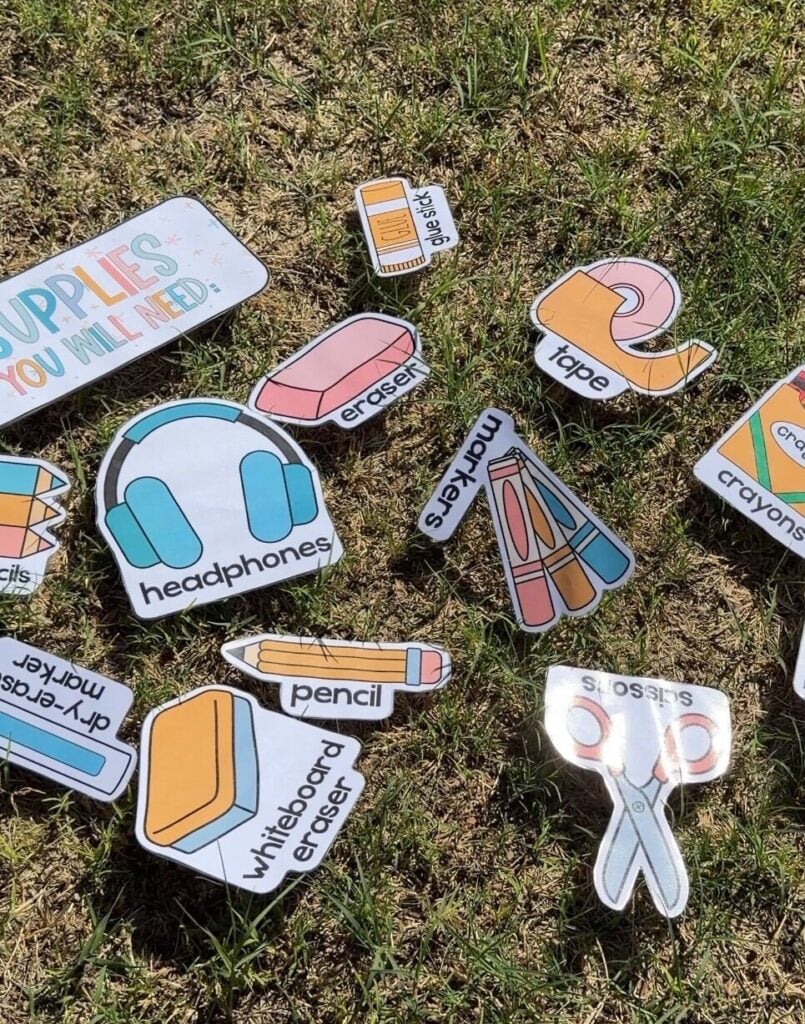
Grab your lamination glare spray can & give the items a generous spray.
Then, wait a few minutes (or a few seconds…I tried to follow the directions on the can, but I was a bit impatient 🤪), and spray them again.
I did follow the directions on the can when it came to telling me how far away to hold the can when I was spraying.
And you can already tell from those pictures that some of those Supplies You Will Need display pieces look 10000000x better! 🙌
Step 4: Assemble Your Glare-Free Display
Wait until everything is fully dried.
Then, you’re ready to set up your display!
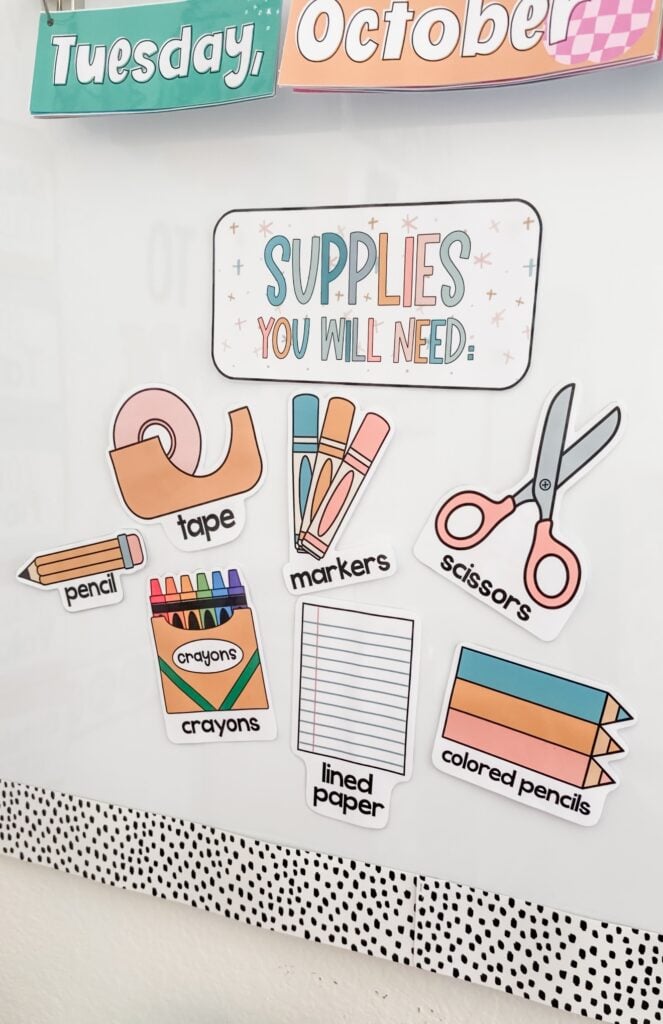
I put this Supplies You Will Need display on a whiteboard using magnetic tape.
And it is WONDERFUL to be able to easily read or see each item students need without moving your head around to avoid the glare. 🤩
Now you’re ready to go and laminate everything in your classroom! (Although I still think you don’t need to laminate EVERYTHING.)
And you can do it all while getting rid of the lamination glare.
If the Supplies You Will Need display has caught your eye in this blog post, you can read more about what it is & how to use it in this blog post!