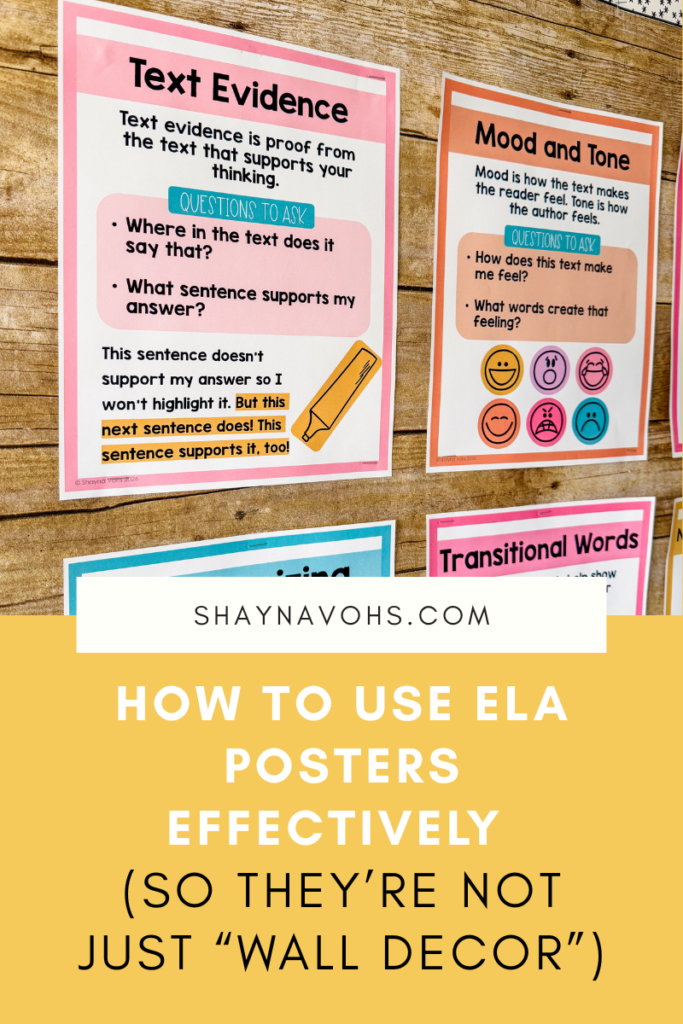
Your students keep mixing up 1st vs. 3rd person, and no matter how many times you explain it, it’s just not sticking.
You know they need something they can see and reference throughout the day…not just another explanation.
Does this sound familiar?
That’s where intentional ELA posters in the classroom come in.
Not the kind that fade into the background, but the kind your students actually use.
What Makes ELA Posters in the Classroom Effective?
The last thing you want is to place posters on your wall only for them to be decor that your students forget exists.
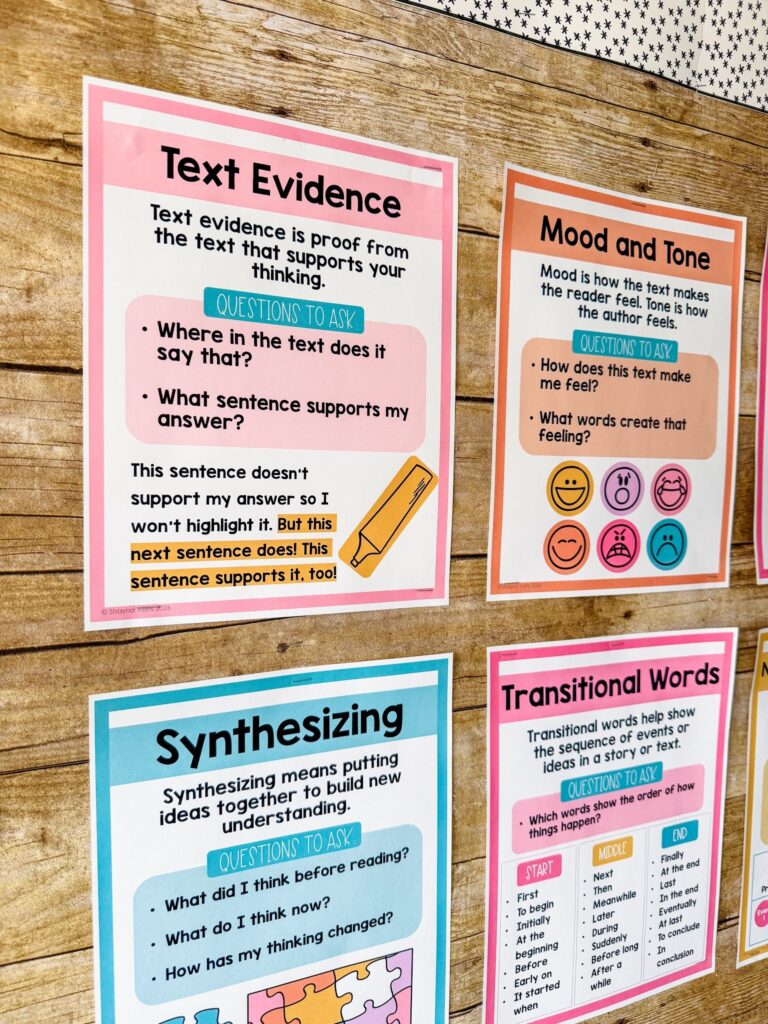
Sooooo, how do you do that?
Because you know your students will need some help analyzing characters before they master the skill.
Here’s a quick “checklist” to ensure posters you add are going to help your students, and not just look cute:
✅ Is this poster covering something you are currently teaching?
✅ Does this poster use language your students can understand?
✅ Will this poster be something you can easily reference during whole group and small group lessons?
✅ Are there visuals on this poster to make it accessible for students?
Notice that many of these checkmarks deal with how you will USE the poster, not as much about the poster itself.
Simple Ways to USE Your ELA Posters in the Classroom
So, how will you actually USE these posters?
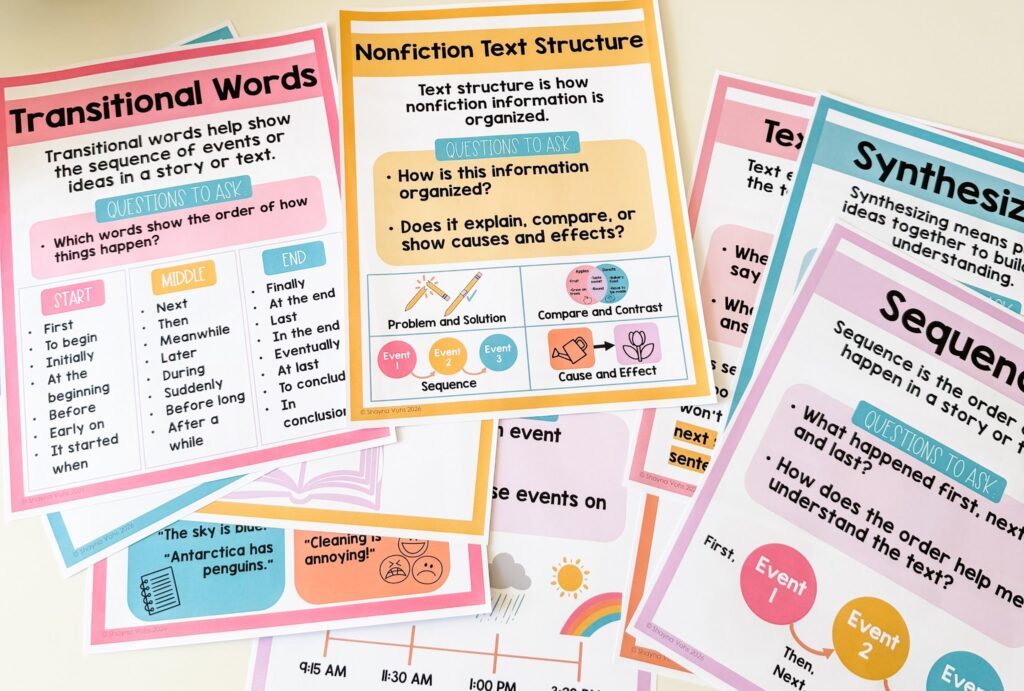
Think of these using the ELA posters as a new habit you are working on building into your routine.
The more you practice and become used to referencing these posters on a daily basis, the easier it will be to ensure you (and your students) use these posters over and over again.
Here are 3 different ways you can easily start using ELA posters throughout your day.
1. Reference the Posters During Whole Group ELA Lessons 👩🏫
Start referring to the posters during your whole group lessons.
As you model a skill or concept from a poster, draw your class’s attention back to the poster. This helps your students remember the skills you’re teaching AND see them used in real life.
As you introduce the new skill or idea, use the poster as a means of introduction.
Teach your students about the vocabulary on the poster. Then, use it over and over and over again as you talk about, demonstrate, and practice the ELA concept.
Make it simple by pointing to the poster anytime you refer to that skill or idea.
Model how you would use this poster to help remember how to go about analyzing the characters in the story or identifying if it is written in 1st, 2nd, or 3rd person.
Adding in all of these simple actions will ensure your ELA posters in the classroom are not just decor pieces. Your students will start referencing them all the time, too!
2. Use the Posters in Small Groups 📚
When you place your ELA posters in the classroom, think about keeping them close to your small group area.
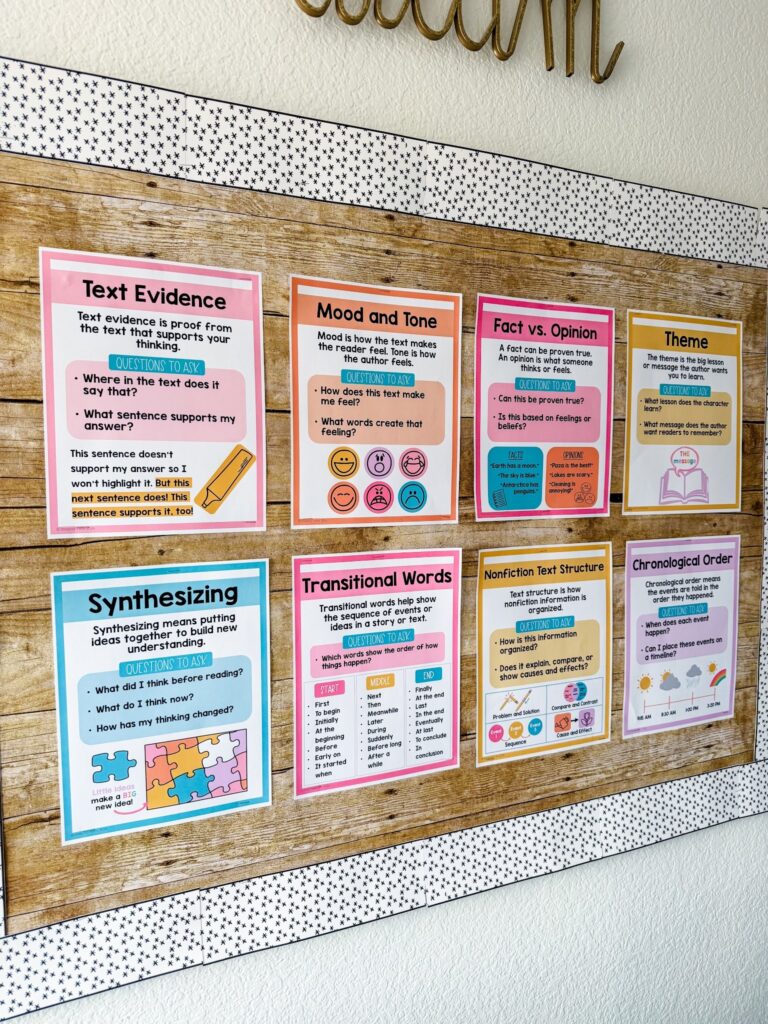
That way, you can use these posters to reinforce the specific skills your small groups are mastering.
Using the same resources as during whole group instruction not only makes your small group time more focused, but also helps your ELA time feel connected and whole, not two separate things.
3. Turn the ELA Posters into Discussion Tools 💭
One of the BEST ways to get your students using the posters is to have them TALK about them.
Use the questions from the posters as prompts for your students during a turn-and-talk.
Provide some sentence stems for students to use to kickstart and frame their thinking around the concept or skill.
Finally, encourage them to use the vocabulary on the posters. The more your students talk about these ideas, the more they master them.
Avoiding Poster Overload
Now, before you get super excited and post all 32 of these ELA posters in your classroom, hear me out.
There is such a thing as too many posters.
You won’t be covering all of these 32 topics at the same time. So there is no need to throw ALL of them on a bulletin board right away. (And you would need a LOT of space for that display.)
My suggestion is to rotate your posters based on the skills you are currently focusing on. Then, once a skill has been mastered or is pretty solid, you can take that poster down & make space for a new one.
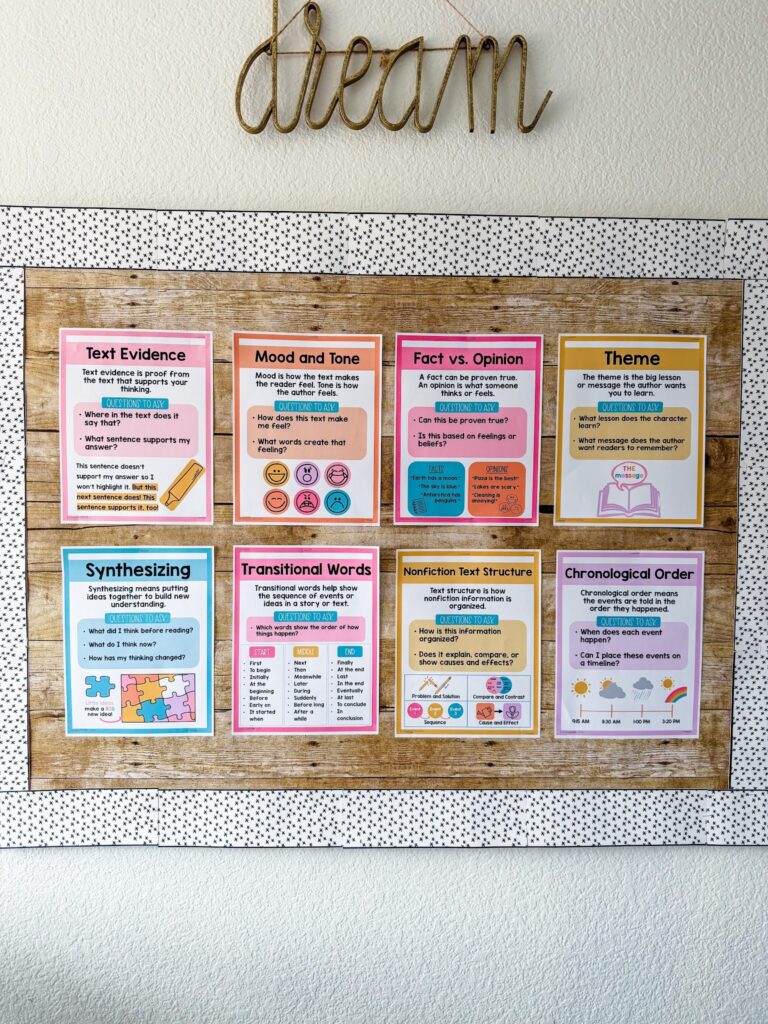
You can ALWAYS come back to old posters. But if they live on your wall all year long, they become invisible. Your students will not even remember they are there.
If you want your students to be able to reference ALL the posters, create a student handout. Then students will have the posters at 1/4 of their size in their ELA folder or desk.
Then your students are able to reference whatever poster they need whenever.
An Easy Way to Get Started
Now, if you’re wondering when on earth you’re going to have time to create the perfect ELA poster set for your classroom that your students will actually use, don’t fret!
The good news is, I’ve created 32 ELA posters, so you don’t have to!
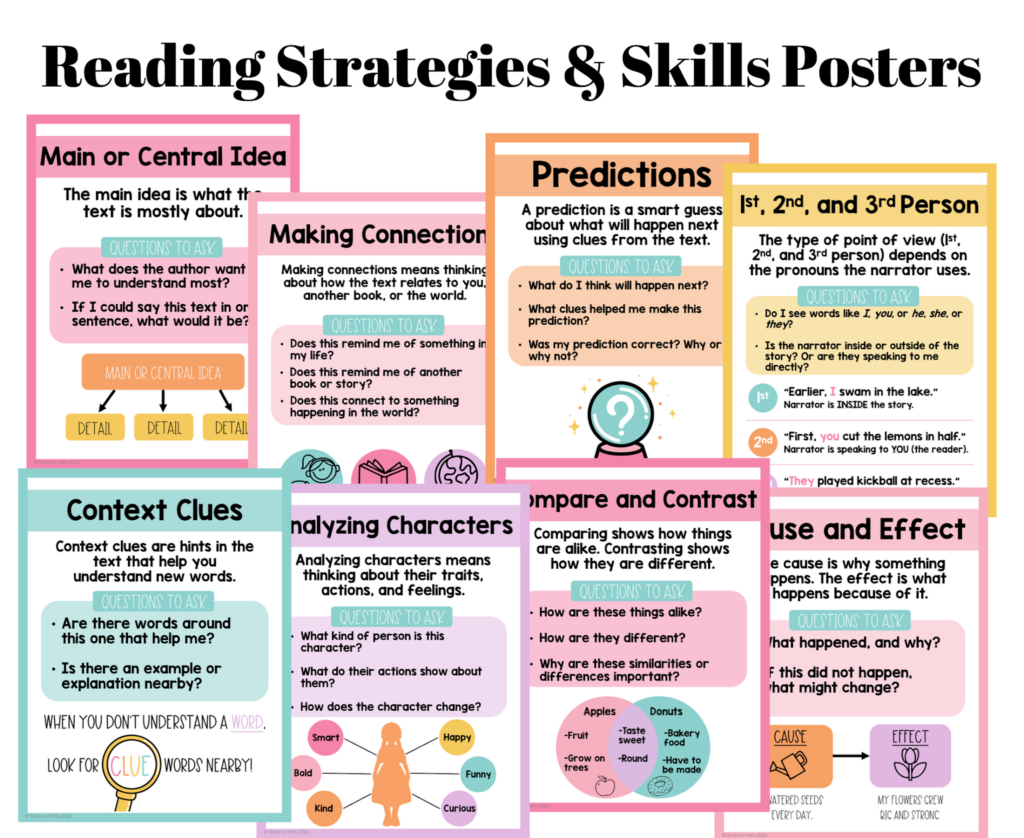
Simply choose the color scheme you enjoy most (or the one that matches your classroom decor) and decide which skill you’ll teach first.
Having these cohesive, ready-to-use posters that all follow the same format will save you time and give you a resource your students can count on.
These posters each include a definition of the term or idea, guiding questions to help students identify or use the skill, and a visual to tie the concept back to.
This simple formula means your students know exactly what to expect from the ELA posters in the classroom, and can use them to expand their ELA skill set, one poster at a time.
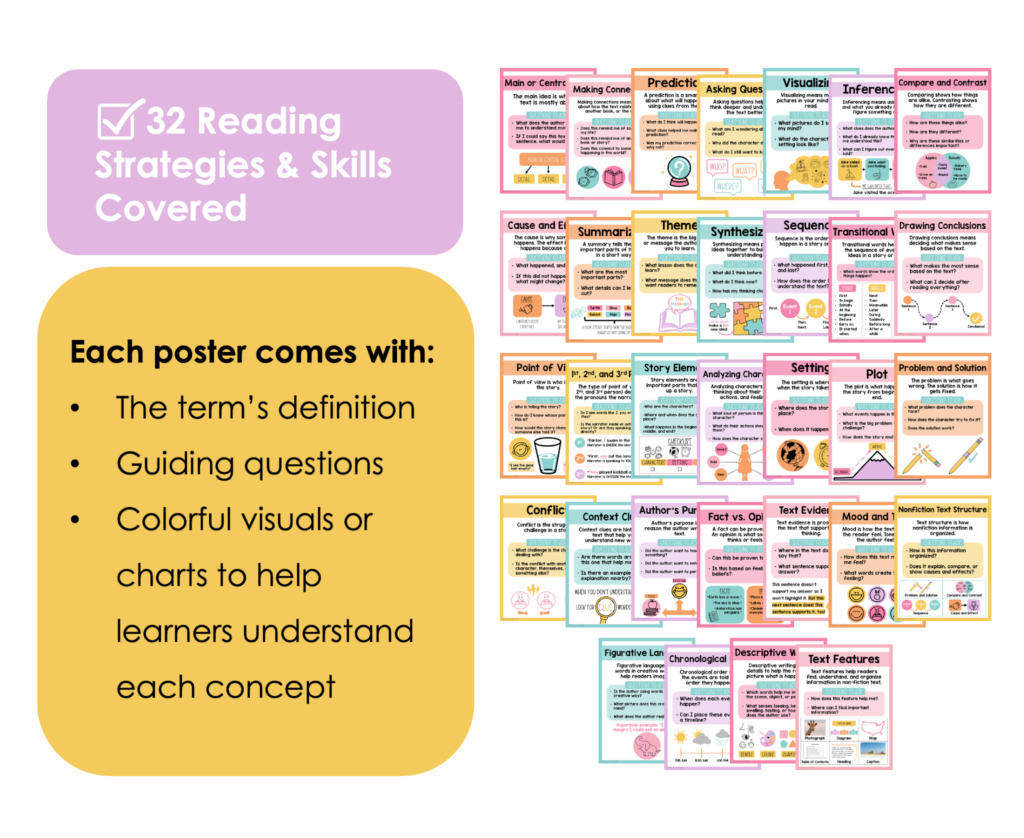
If you’ve been LOVING the posters from the images in this blog post, you’ll want to check out the Hello Pastel ELA posters product on my TPT store.
Print the posters WITHOUT a white margin to complete the look.
And if you’re dying to get your hands on some posters, but prefer a different color scheme, I’ve created these ELA poster sets for pretty much all of my decor themes, and you can browse them here.
Before you hang them on your walls, check out these tips to easily add stunning posters without destroying your classroom walls.