Follow the steps below to personalize your decor. 😍
I must also add, if you do not wish to edit your classroom decor, no worries!
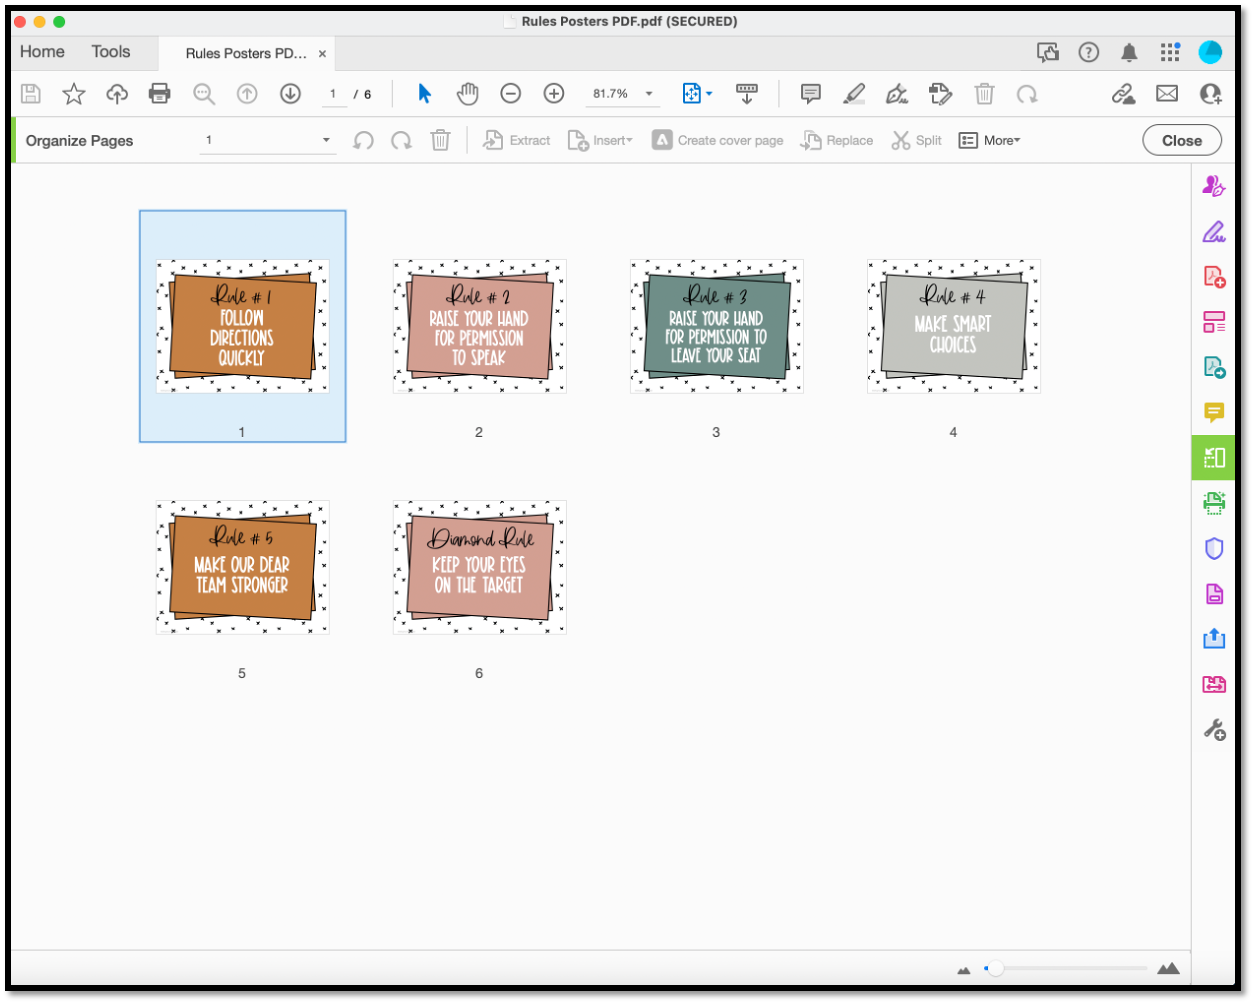
I have created PDF versions of everything that are pre-made and ready to print.
For example, here are some 10 drawer cart labels that I have created a PDF version of and you can simply choose the pages you’d like to use and print 🙂

Step #1: Ensure PowerPoint is Installed on your Computer
Although you technically can edit the files in Google Slides, I highly recommend using PowerPoint since you cannot use the same fonts, and the formatting will not be distorted when uploading the slides.
So, my first step is always to make sure your computer has PowerPoint downloaded and installed.
If you don’t have PowerPoint on your computer, here is a link to a free month-long trial.
Something to note: not all classroom decor bundles are editable. Each bundle on TPT is different. These steps are specifically for any of my classroom decor bundles.

Here is a sample of an editable classroom decor file in Powerpoint.
Step #2: Open the PowerPoint File
The classroom decor bundles I create often have multiple versions of the resources. Many items include a PDF file that is ready to print as well as an editable PowerPoint version if you want to make additional changes.
So, when you go to edit a file, make sure you are opening the PowerPoint version of the file.
If you aren’t sure which file is the PowerPoint version, look at the endings of the file names. PowerPoint files end with .pptx whereas PDF files end with .pdf.

Another way to make sure you have opened the correct file is to pay attention to what the resource looks like once it is open.
The PDF version will have words and sentences to make the resource easy to print as-is.
The editable version will look exactly the same, but the words on the items will say “editable” to show you that you can change the words as you like!

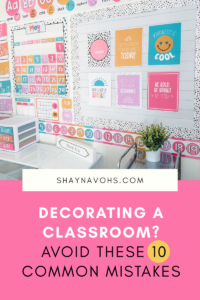
Loving the colors of these editable posters? They are a part of my Simply Neutral Classroom Decor Bundle!
Step #3 (Optional): Change the Font
All of my editable files have the fonts I used when creating the resource embedded.
This means you can use the same font to create the exact same look, without having to purchase the font separately! 🥳
If the fonts happen to be missing- check out this blog post for solutions to retrieving those missing fonts!
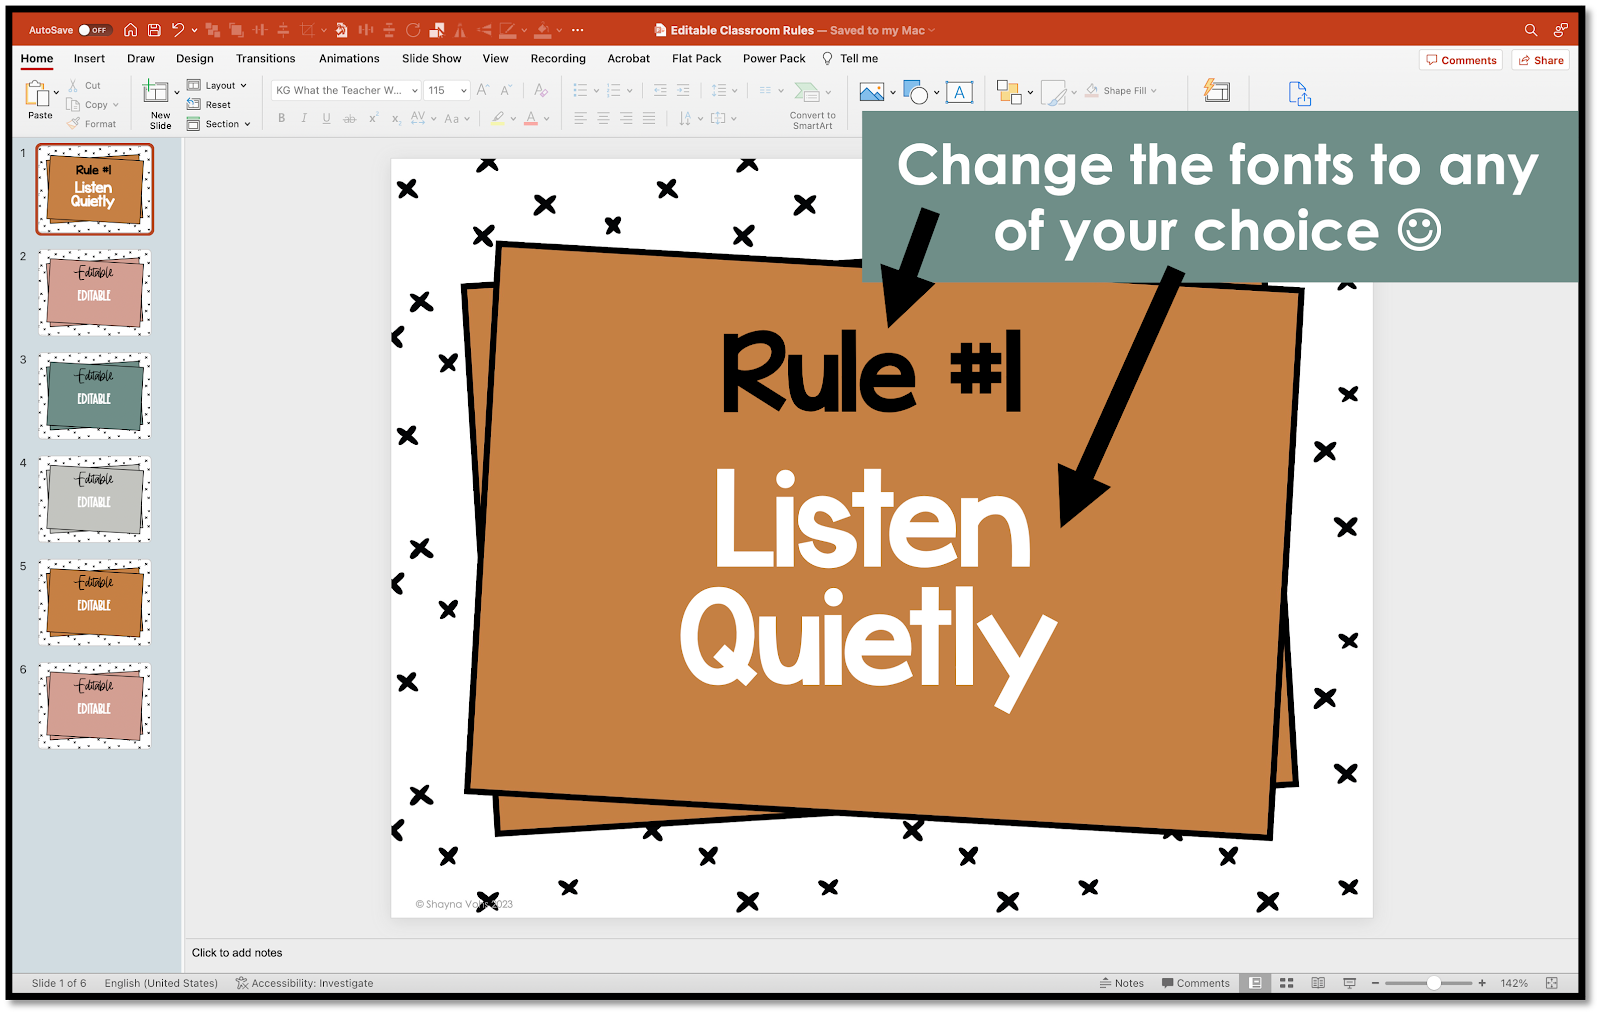
But, if you want to use a different font, you can certainly change it to any of your choosing. 🙂
If you are looking for some great easy-to-read font options that work well in the primary world, check out these fonts!

To give you an idea of what they look like in real life, here is the word “Classroom” in each of the three fonts above.

Here are some quick links to grab these free fonts for use in your classroom:
And the great part is, these three fonts are all FREE!
Step #4: Customize the Text
Now for the fun part!
Add text to make this classroom decor bundle perfect for your classroom!

The editable feature of these classroom bundles is what allows you to really transform your classroom.
Adding rules specific to your classroom, changing the organization labels to the items inside your classroom, and typing in your students’ names creates a classroom decor bundle you will actually use again and again. 🥰
That’s it! You now have an amazing set of classroom resources personalized for YOUR classroom!
The next step in the process is to print out all the things. If you are looking for some tips on how to print your classroom decor without breaking the bank, this blog post is for you.
I find the most time-consuming parts of classroom decor bundles are the bulletin board displays. They have SO many pieces and sometimes take a long time to get them looking perfect. I share 5 bulletin board tips in this blog post that allow me to only set up a display once!